As we live in the modern era where technology is a buzzword and it goes without saying that because of techno-savvy generation our dependency on power is increasing day by day.
The reason is we cannot imagine our life without modern gadgets like mobile phones, laptops, modern appliances, etc. These modern apparatus need the power to run and also for recharging.
So, it could be said that: power is becoming a basic need in our life. Whenever we face some power outage issues, we get annoyed and at that time we use the generator for electrical power supply.
Now here our power outage problem gets solved, but with this solution, the most annoying problem arises.
What’s the problem? The irritating noise of the generator. It does not only annoy us but is also a big hassle for our neighbors.
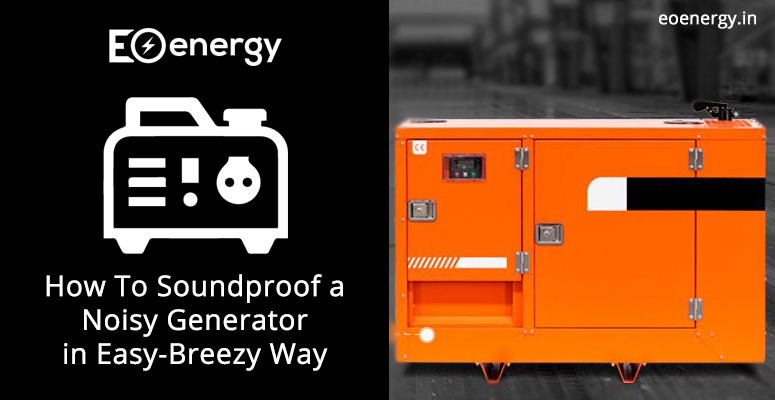
Don’t worry, we are here with the answer to the most complicated question- How to soundproof a noisy generator?
Now let’s get started with eight easy steps to fix out this problem.
Things We need to do the manipulation
To make any DG Set soundproof, we need a few essential things to design & manufacture generator enclosure. This DG Set canopy not only reduces the sound of the generator but protect this Genset from bad weather or heavy storm.
-
Medium density fiberboard
-
Mass loaded vinyl
-
Foam mats
-
Green glue
-
Ventilation ducts
-
Measuring tape
-
Paper & pen
-
Right angled ruler
-
Saw, Screwdriver & Hammer
-
Vents
Note: Remember that you will not be able to completely soundproof your diesel generator because the box requires vents, so the generator does not overtighten or overheat. These holes will make it so that some sounds from the generator will come out of the box, but it will be less if you have not placed a soundproof generator box.
Step to make a noisy generator soundproof
By using all these things we create the best in design canopy for portable generator. the following step will help you to make a box for a generator.
Take the measurement carefully.
Generally, we know very well all generators come with their shape and size. First, we will make a soundproof generator box with the correct measurements by our generator. Pay more attention while measuring because it is very important as if you will get messed up with the measurements, probably you will face some problems in the next steps.
After taking the exact measurements, write them down, and don’t forget to add some more inches on sides because you need some space for insulation thickness and vents.
When you have measured everything and added a few inches on all sides evenly to the soundproof thickness, write down the last report, and we can start working on your generator.
Cut out the box according to your measurement carefully
Now, all set for cutting, you have your measurements and medium-density fibrewood prepared. One more thing you need to know and that is not the compulsion of using medium-density fibrewood, instead, you can use regular plywood and spare plywood. For better results, you can use MDF because it gives you great noise canceling results.
Use your pen and right-angled ruler, mark all the measurements on the medium-density fibreboard. Cross-check your work and then get ready to cut. By using the circular or table saw, cut the board. Make sure that you are paying full attention to the labels and measurements on the board made earlier.
Set ventilation holes on the box
Grab your ventilation duct and measure its diameter and mark two circles on the fibreboard box. While marking, keep two instructions in your mind.these are
-
The first circle should be placed on the top of the fiberboard. Also, it will be better if you put it a little more on one side instead of the center of the board.
-
The second circle should be placed on the board that will be used as a wall and will be placed in the opposite direction from the top hole.
After marking everything according to instructions, place your fibreboard “walls” on the table, with the “roof” one in the center and the rest in its surroundings.
Add the first layer of soundproofing by Mass loaded Vinyl insulation
The most important thing you need to know about the soundproofing is Layers of sound gaps and free space, layers of material, layers of everything. Mass loaded vinyl insulation is the great material here which we are using for the first layer of soundproofing of the generator box.
Now First, measure the piece of medium Density Fibreboard that you cut for the box and cut the mass loaded vinyl to that size and glue it directly to the inside of your soundboard.
Seal off the first layer you made
It can be difficult to glue the edges of MLV insulation properly, so it’s better to use green glue to take care of this problem.
Glue the Foam mats to the MLV
The foam mat will help to significantly reduce the noise of your generator in your soundproof generator box. Therefore, all you need to do is add this layer to your walls and ceilings of your soundproof box.
Now, you have to take the foam mats and label the measurements of your walls and ceilings and cut them accordingly. Glue the mats on top of the MLV and repeat this for all the edges with the green glue.
Assemble all the pieces together
Gather the walls around the ceiling and nails or screw them in place. Additionally, you can also put some hinges so that you have easy access to your generator.
Installing the Ventilation Duct to MDF box
In the last step, place the vent hoses in the holes you made in step 3, make sure to tighten them in place because don’t allow them to jump around it.
To give the finishing to your soundproof generator box must add a little vent just above the opening. Once you are done with all these steps, your soundproof generator is all set to use.
Summary
So this is the wrap up of my article with one of the best techniques to soundproof a noisy generator. I hope these 8 steps will surely help you out from the noisy buzz generator.
If you have any queries and suggestions about this article, please feel to reach us on our comment box.
We always looking forward to happy our viewers and your valuable feedback always encourages us to find out the best solutions for all your questions.


 Total views : 11212